Disassembling an above ground pool may seem like a big job, but with the right tools and a bit of planning, it can be done efficiently and safely. Whether you're preparing for junk removal, storage, or simply reclaiming your yard space, this guide will walk you through how to take down your above ground pool step-by-step.
Step-by-Step: How to Take Down an Above Ground Pool
Quick Answer:
To disassemble an above ground pool, start by draining the water, removing all accessories, detaching the liner, and then taking apart the frame. Finally, clean and sort parts for storage or disposal. Below is a more detailed breakdown.
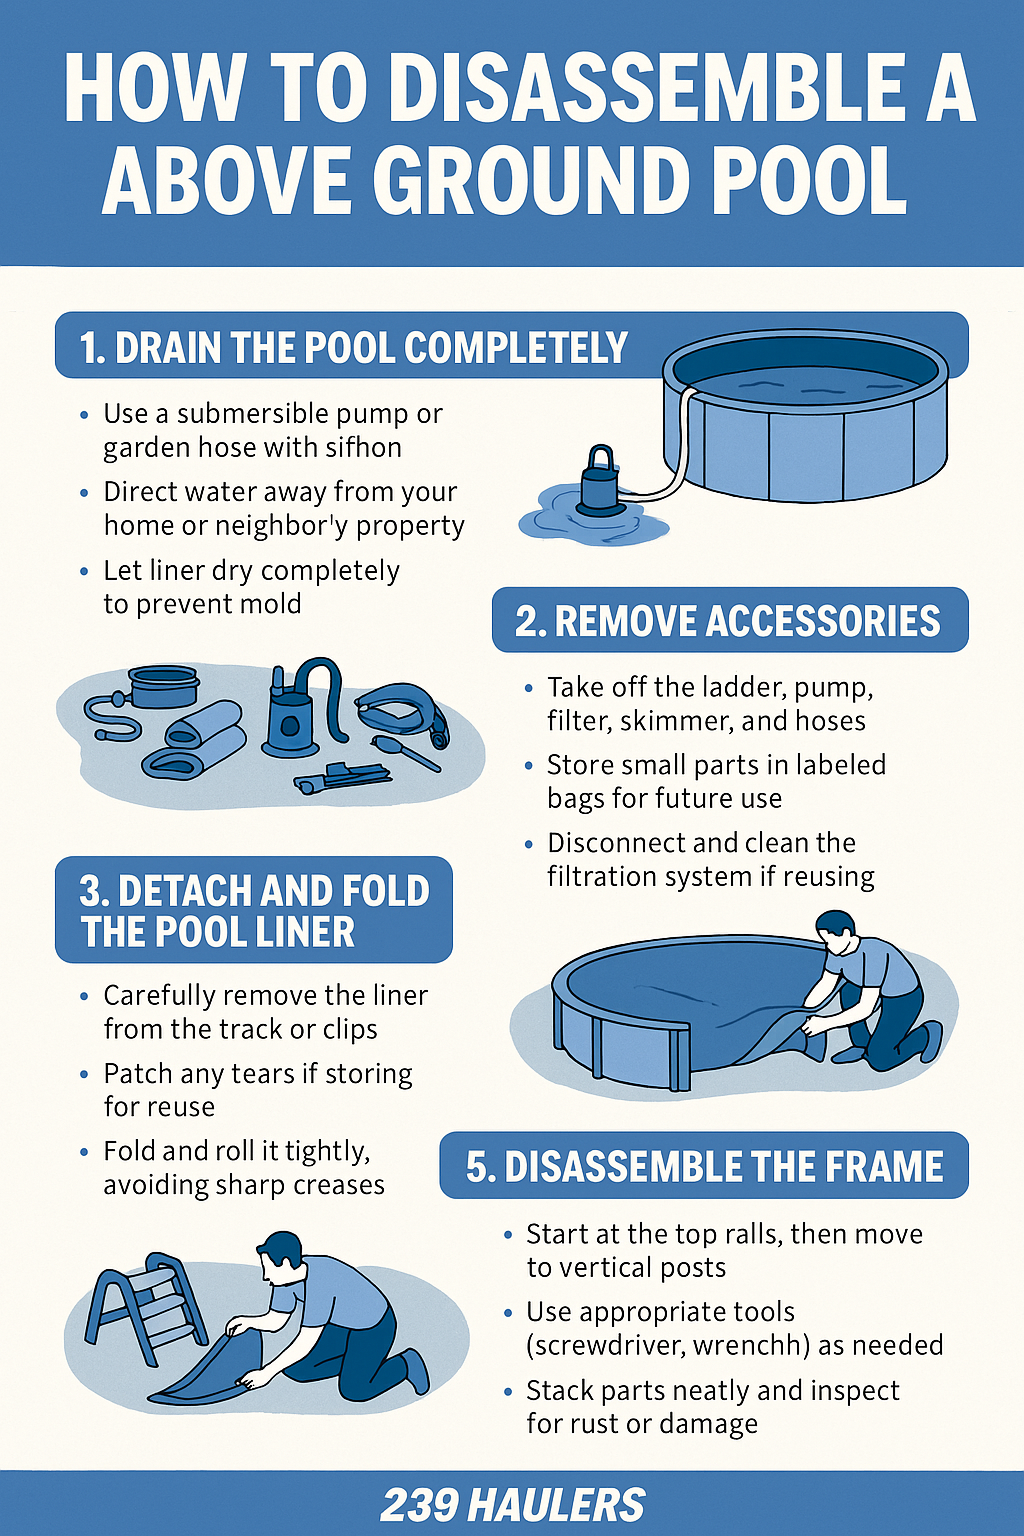
1. Drain the Pool Completely
Start by removing all the water from the pool using a submersible pump or a siphon hose. Make sure to direct the water away from your home, foundation, and neighboring properties to prevent flooding or erosion. Once drained, allow the pool liner to dry fully—this helps prevent mold, mildew, and makes it easier to handle during removal.
- Use a submersible pump or siphon hose to drain the water
- Direct water away from your foundation or neighboring properties
- Allow the liner to dry thoroughly to prevent mold or mildew
Pro Tip: Draining on a sunny day can speed up the drying process and make the liner easier to fold later.
2. Remove Accessories
Detach all external pool components, including the ladder, pump, filter, hoses, and skimmer. These parts can be bulky or delicate, so handle them with care—especially if you plan to reuse them. Place all small hardware like screws, clamps, and fittings into clearly labeled bags or containers to stay organized.
- Detach and store the ladder, skimmer, pump, filter, and hoses
- Place nuts, bolts, and clips in labeled containers or ziplock bags
- Rinse and clean the filtration system if you plan to reuse it
Pro Tip: Rinse and dry accessories before storing to prevent corrosion or buildup.
3. Detach and Fold the Pool Liner
Carefully remove the pool liner from the track, clips, or coping strips, starting at one end and working your way around. Inspect the liner for rips, tears, or mold. If it’s in good condition, dry it completely and fold it loosely to avoid creasing. If damaged, set it aside for proper disposal.
- Remove the liner from its track or fasteners carefully
- Inspect the liner for holes or tears
- If reusable, fold it loosely and store in a dry area; if not, prep for disposal
Pro Tip: Wearing gloves can help prevent cuts and improve grip when handling slippery or sun-warmed vinyl.
4. Disassemble the Frame
Begin by removing the top rails, followed by the vertical support posts and base plates. Use the appropriate tools—typically a screwdriver or socket wrench—to carefully loosen and separate each part. As you go, inspect the frame for any rust, damage, or wear, and stack the pieces neatly for storage, recycling, or disposal.
- Start with the top rails and work your way down to the vertical posts
- Use a screwdriver or socket wrench as needed
- Inspect frame pieces for rust, cracks, or sharp edges
- Stack metal or resin parts together for recycling or reuse
Pro Tip: Take photos during disassembly if you plan to reuse the frame later—it’ll make reassembly much easier.
5. Clean and Store or Dispose of Parts
Once disassembled, hose off all pool parts to remove dirt, debris, and algae. Dry each component thoroughly to prevent rust or mold during storage. Store reusable items in labeled bins or bags in a dry area. If you're disposing of the pool, separate recyclables like metal or hard plastic, and contact a junk removal service like 239 Haulers for hassle-free pickup.
- Hose off frame components to remove dirt and debris
- Store parts in labeled bins or bags to make future reassembly easier
- For disposal, check if your local recycling center accepts pool parts
Pro Tip: Organizing parts now saves you time later—especially if you're planning to reassemble next season or sell the components.
Sounds OVERWHELMING? Let 239 Haulers Help!